


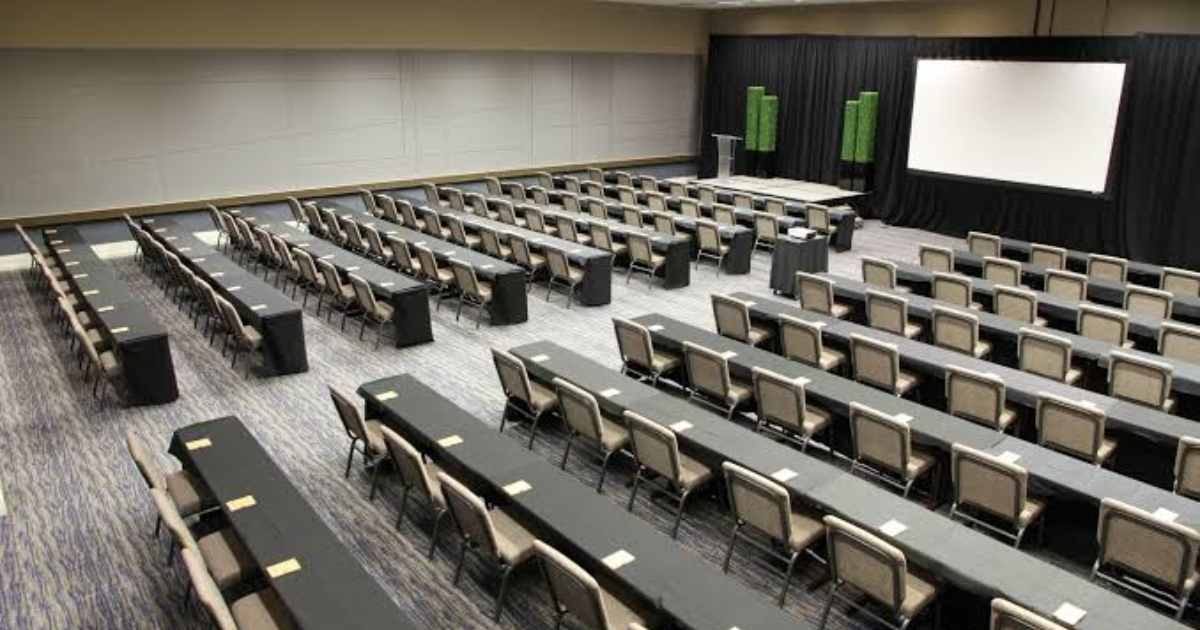
A conference room is one of the most visible spaces in your entire office. It is where deals get closed, decisions get made, and first impressions get formed. Yet so many conference rooms end up as an afterthought, with technology bolted on after the furniture arrives instead of planned from the start. This conference room installation planning guide exists to help you avoid that mistake.
Whether you are building your first boardroom or upgrading an outdated one, the process is the same. Understand the room, plan the infrastructure, choose the right equipment, and build in support for the long run. Let us walk through it step by step.
Define What This Room Needs to Do
Before choosing any equipment, get clear on how the room will actually be used. Executive decision-making, client presentations, and hybrid team calls all place different demands on your audio, video, and layout. This is step one of any real conference room installation planning guide, and it shapes every decision that comes after it.
Talk to the people who will use the room most. Their frustrations with previous spaces are often the clearest signal of what your new room absolutely needs to get right.
Assess the Physical Space Honestly
Room dimensions, ceiling height, natural light, and wall materials all affect performance. A room with glass walls and hard floors will need acoustic treatment to prevent echo, while a room with heavy natural light will need displays or shading that account for glare.
Sightlines matter just as much. Every seat in the room should have a clear view of the display, and speakers should be positioned so sound reaches every seat evenly, not just the ones closest to the front.
Plan Cabling and Network Before Equipment Selection
Structured cabling, sufficient bandwidth, and network prioritization for video traffic all need to be planned before displays and cameras go up. This is the least visible part of any conference room installation planning guide, but it is often the difference between a system that runs smoothly and one that constantly needs troubleshooting.
If you are working in a space that is still under construction, this is the ideal time to run cabling through the walls rather than relying on visible cords once the room is finished.
Select Equipment Sized to the Room, Not the Budget Alone
Displays, cameras, microphones, and speakers should all be chosen based on room size and viewing distance, not simply the biggest option available. A display that is too small forces people to strain, while an oversized display in a small room can feel overwhelming and waste budget better spent elsewhere.
Control systems should stay simple. The goal of any conference room installation planning guide is a room that starts a meeting with one touch, not a room that requires an instruction sheet taped to the wall.
Test, Train, and Set Up Ongoing Support
Once installed, test the room under real conditions, including a live call with remote participants. Train the people who will use the room regularly, and make sure a support plan is in place before you consider the project finished.
A conference room installation planning guide is not complete without this last step, since most AV failures happen well after installation day, not during it.
If you want your conference room done right the first time, Projectus has been designing reliable, intuitive meeting spaces for Oregon businesses since 1996. Talk with a solutions architect to start planning your room.