


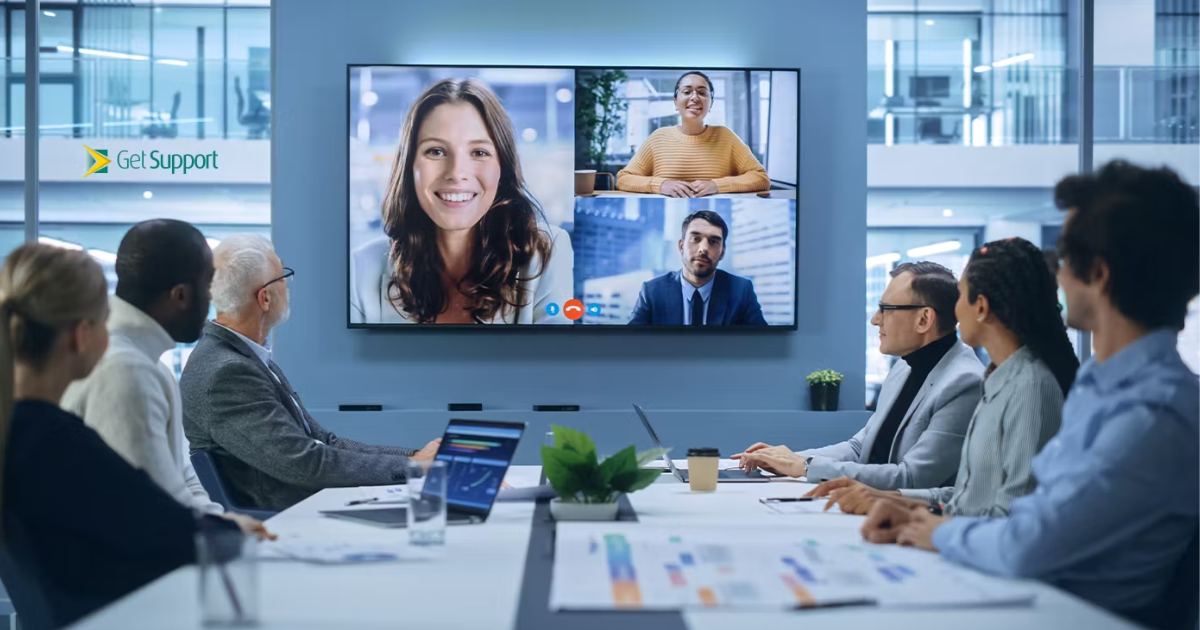
You have probably walked into a conference room, tapped the screen, and had a Teams meeting start instantly without a single cable to plug in. That kind of seamless experience does not happen by accident. It is the result of careful planning long before anyone sat down in that room. If you are responsible for planning a Microsoft Teams meeting room for your organization, there is a lot more to get right than picking a display off a shelf.
The good news is that Microsoft has published clear guidance for these spaces, and experienced integrators build on it every day. Let us walk through what actually matters when you are planning an online meeting room that people will genuinely enjoy using.
Start With Room Size and Purpose
Not every room needs the same setup. A small huddle space for two or three people can run on a compact video bar with a built-in camera, microphone, and speaker. A larger boardroom needs a more deliberate camera design plan, often with multiple cameras to capture everyone clearly, along with ceiling microphones for wider voice pickup.
This is the first step in planning a Microsoft Teams meeting room, and it is also the step most often rushed. Take an honest inventory of your existing spaces, their size, and how they are actually used before you decide what equipment belongs in each one.
Get Camera Placement Right Before Anything Else
Camera design should come before audio equipment selection, since where the camera sits affects everything else in the room. For most rooms, a front-of-room camera works well when mounted below the display height, while side-mounted cameras in larger boardrooms should sit higher to give a clear view across the table.
Getting this right early avoids the common problem of remote participants only seeing the first two or three seats at the table, which quietly excludes everyone else in the room from feeling seen.
Choose Displays and Audio That Match the Room’s Lighting and Size
A standard Teams room setup typically includes one or two screens, one for shared content and one for the video gallery. In rooms with a lot of natural light, look for displays with anti-glare properties, since ambient light can wash out a screen that looked perfectly fine in a demo room.
For audio, built-in, tabletop, or ceiling microphones all work depending on room size. Larger boardrooms benefit from ceiling microphones with beamforming technology, since they pick up voices clearly without cluttering the table with visible hardware.
Keep Control Simple for Everyone Who Walks In
A touch console should be within easy reach at the table without blocking space people need for laptops or documents. The goal of planning a Microsoft Teams meeting room is to make joining a meeting so simple that nobody needs a manual or a help desk call to get started.
This is also where standardizing across multiple rooms pays off. When every Teams room in your building follows the same layout and control scheme, your employees stop relearning the technology every time they book a different space.
Test the Room Before You Trust It
Before declaring a room finished, run a real test meeting with people sitting in different seats, joining from different devices, and sharing content the way they normally would. This catches issues that a simple power-on check never will, such as a microphone dead zone in one corner of the room.
Planning a Microsoft Teams meeting room does not end at installation. Build in a support plan so that firmware updates, hardware wear, and evolving Teams features do not quietly degrade the experience over time.
If you want it done right the first time, Projectus designs and supports Microsoft Teams Rooms, Zoom Rooms, and hybrid environments built for how your team actually meets. Talk with a solutions architect to plan your rooms.