


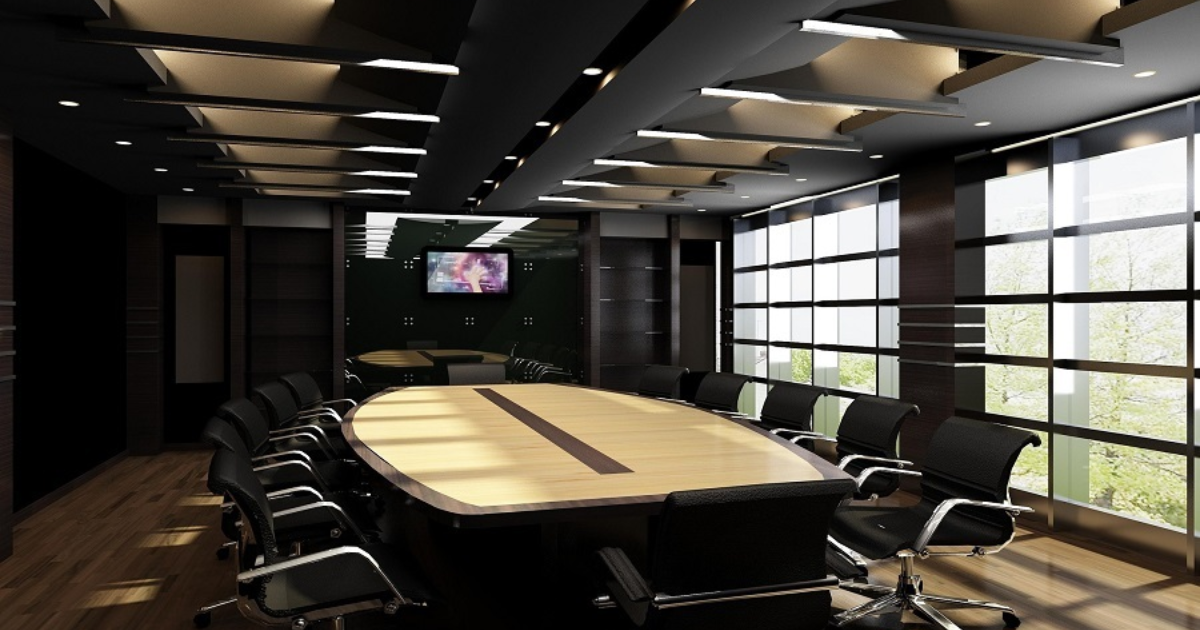
Conference room audio is one of those things that nobody appreciates when it works, and everyone notices when it doesn’t. The executive whose voice trails off to an echo. The remote participant who asks “can you repeat that?” every few minutes. The meeting that loses twenty minutes to audio troubleshooting before a word of business gets done. If this sounds familiar, you already know that poor conference room audio is not just an inconvenience. It is a productivity problem.
The good news is that improving conference room audio does not always require starting from scratch. In many cases, targeted adjustments to the acoustic environment, microphone placement, speaker configuration, or system calibration can dramatically change the experience. Here is where to start.
Understand the Acoustic Environment First
Before you change a single piece of equipment, understand what you are working with acoustically. Clap your hands sharply in the room and listen. If you hear a noticeable ring or echo after the clap, the room has acoustic problems that no microphone can compensate for. This is the single most common root cause of poor conference room audio, and it is almost never addressed because it requires thinking about the room itself, not the technology in it.
Hard floors, glass walls, parallel surfaces, and high bare ceilings all contribute to acoustic problems. Soft materials absorb reflections: carpet, acoustic wall panels, upholstered chairs, and fabric partitions all reduce reverb time and make microphones more effective. Adding acoustic treatment to a room with poor characteristics is often the highest-value improvement you can make to conference room audio quality.
Evaluate Your Microphone Coverage
Every seat in your conference room should fall within the microphone’s effective pickup zone. If your current microphone is a single unit at one end of the table, anyone seated more than four to six feet away is likely being picked up inconsistently. This creates the “underwater” effect that remote participants experience when only part of the room is clearly audible.
Ceiling microphone arrays solve this problem elegantly. Mounted above the seating area, they provide wide, even pickup coverage without requiring participants to position themselves near a device. For existing rooms that can’t be reconfigured easily, expanding to multiple tabletop devices or adding a ceiling system significantly improves conference room audio
Check Your Speaker Configuration
Single speakers positioned at one end of the room create uneven listening experiences for participants at the far end. Distributed speaker systems place audio output closer to every participant, reducing the volume differential between near and far seats and delivering a more consistent listening experience throughout the space.
Calibrate the System for the Room
A correctly specified audio system that is not calibrated for the specific room it is installed in will underperform. Equalization settings, gain levels, echo cancellation thresholds, and zone assignments should all be tuned with the system operating in the actual space. This is not a one-size-fits-all configuration. It is a room-specific adjustment that makes a measurable difference to conference room audio quality.
Address Network Quality for Cloud Audio
If your conference room audio issues include call quality degradation, robotic voices, or audio dropouts, check your network conditions before blaming the hardware. Insufficient bandwidth, high packet loss, and network jitter all degrade cloud-based audio in ways that room hardware cannot fix. Measure network performance during a meeting before concluding that the issue is in the room.